PRE-LOVED ★ RELOVED ★ REPEAT ★ SELL YOUR WARDROBE ★ FIND YOUR NEXT FAVOURITE ★ PRE-LOVED ★ RELOVED ★ REPEAT ★ SELL YOUR WARDROBE ★ FIND YOUR NEXT FAVOURITE ★ PRE-LOVED ★ RELOVED ★ REPEAT ★ SELL YOUR WARDROBE ★ FIND YOUR NEXT FAVOURITE ★ PRE-LOVED ★ RELOVED ★ REPEAT ★ SELL YOUR WARDROBE ★ FIND YOUR NEXT FAVOURITE ★ PRE-LOVED ★ RELOVED ★ REPEAT ★ SELL YOUR WARDROBE ★ FIND YOUR NEXT FAVOURITE ★ PRE-LOVED ★ RELOVED ★ REPEAT ★ SELL YOUR WARDROBE ★ FIND YOUR NEXT FAVOURITE ★
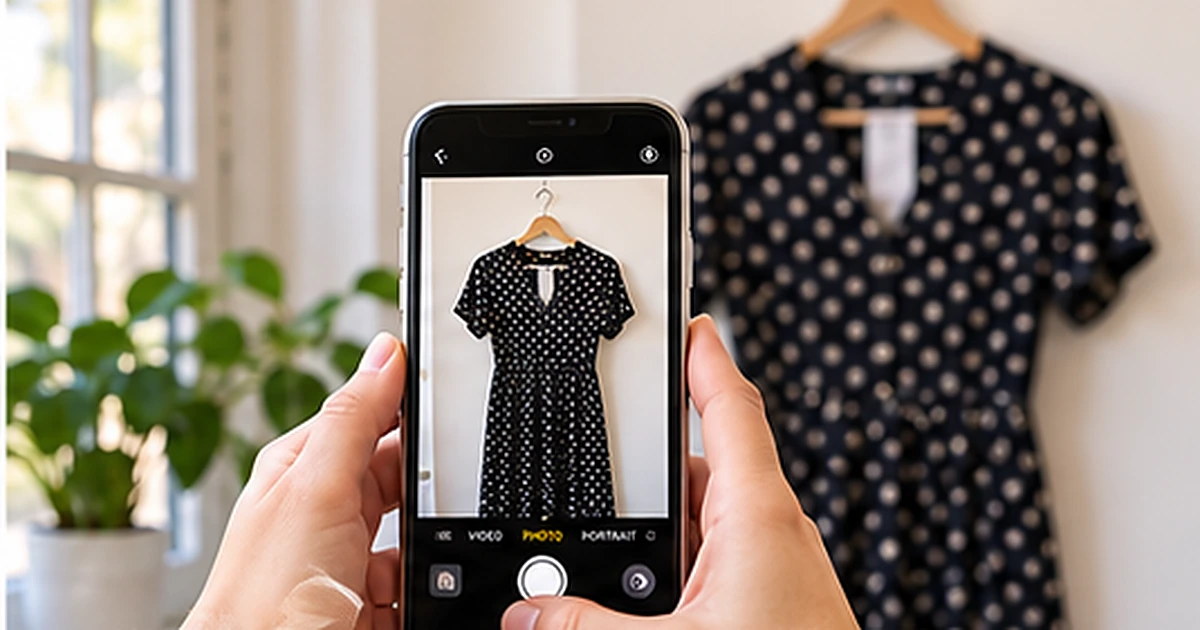
You know that pile of clothes you’ve been meaning to sell?
The lovely dress that’s only been worn once. The jeans that never quite fitted. The jacket you absolutely loved when you bought it but somehow never wear.
You’ve decided to sell them. Brilliant.
Then you remember what’s involved.
Photographs. Measurements. Descriptions. Prices. Uploading everything. And, of course, remembering where you’ve put each item when somebody eventually buys it.
Suddenly, reorganising the kitchen cupboards seems rather appealing.
But selling pre-loved clothes doesn’t have to become a second job. With a simple, repeatable system, you can make the whole process considerably easier.
Here’s how to get organised, list your clothes more efficiently and avoid spending an entire Sunday photographing three blouses.
1. Start With a Proper Sort-Out
Before you take a single photograph, gather everything you’re thinking about selling.
You might be surprised by how much you’ve accumulated.
Rather than attempting to list everything at once, divide your clothes into three groups.
Ready to sell: Clean, presentable pieces in good condition that need little or no attention.
Needs a little preparation: Items that need steaming, washing, a loose button fixing or a closer inspection.
Not worth listing individually: Pieces that are too worn, damaged or unlikely to justify the time involved in photographing and selling them.
That last group doesn’t necessarily need to go in the bin. Depending on the condition, you could donate, repair or recycle those items appropriately.
Be selective.
If you’re preparing for a curated pre-loved event such as Repeat Chic, focus on attractive, wearable pieces that someone else will be delighted to discover.
A smaller collection of lovely clothes is often more appealing than an enormous pile of things that haven’t been checked properly.
2. Create a Tiny Photography Station
You don’t need a photography studio, expensive lighting or a professional camera.
Your smartphone is probably more than capable of doing the job.
What you do need is somewhere consistent to photograph your clothes.
Find a space with good natural light, preferably near a window, and choose a clean, neutral background.
A plain wall, uncluttered door or neatly made bed can work beautifully.
For hanging clothes, a simple hook and a decent hanger are useful. For smaller items, flat-lay photographs can be very effective.
Try to use the same background and lighting for every item.
This gives your listings a consistent appearance and means you won’t need to rearrange your entire house every time you photograph something.
And please, give everything a quick once-over first.
A lint roller and a clothes steamer can make an enormous difference to how a garment looks.
The goal isn’t to disguise the condition. It’s to show the clothing at its best.
3. Take the Same Photographs Every Time
One of the biggest time-wasters is deciding what photographs to take for every single garment.
Instead, create a standard routine.
For most clothing, aim for five or six clear photographs showing:
- The full front of the garment.
- The full back.
- The brand and size label.
- The fabric or care label.
- An interesting detail, such as buttons, embroidery or texture.
- Any signs of wear, damage or alterations.
Add more photographs when they’re useful, particularly for unusual shapes, designer pieces or items with special detailing.
For shoes, include the soles and heels. For handbags, show the interior, corners, fastenings and straps.
Photograph the actual item you’re selling, rather than relying on a retailer’s promotional image.
And don’t hide flaws.
A small mark shown clearly in a photograph is far less likely to cause trouble than one your buyer discovers after delivery.
A quick word about photo editing
It’s fine to straighten, crop or brighten a photograph so the garment is easy to see.
But avoid filters that change its colour or editing that removes genuine imperfections.
The buyer needs to recognise the item when it arrives.
4. Measure Everything in One Go
If you’ve ever sold clothing online, you’ll know the familiar message:
“Hi! Could you tell me the measurements, please?”
There’s nothing wrong with a buyer asking, but it’s frustrating when you’ve already packed the item away.
A flexible measuring tape solves much of this problem.
For tops, jackets and dresses, useful measurements might include chest width, length and sleeve length.
For trousers and jeans, think waist, inside leg and rise.
You don’t need to measure every possible dimension. Focus on the measurements that will genuinely help somebody decide whether an item will fit.
And always make it clear how you’ve measured.
For example:
“Chest: approximately 48cm measured flat, underarm to underarm.”
That’s much more helpful than simply writing “48cm chest”, which could be misunderstood.
A particularly useful habit is to measure several items in one session and record the details on your phone.
You’ll thank yourself later.
5. Create a Listing Description You Can Reuse
Writing descriptions shouldn’t require a sudden burst of literary inspiration.
Most buyers want the same basic information.
What is it? What size is it? What’s it made from? What condition is it in? And is there anything important they should know?
You can answer those questions using a simple template.
Example listing
Title: Mango Navy Linen Blend Blazer – UK 12
Description:
Lovely navy linen-blend blazer from Mango, size UK 12.
Relaxed single-breasted style with two front pockets and a lightweight feel. Great with jeans or dressed up for work.
Condition: Excellent pre-loved condition, with no visible marks or damage.
Measurements:
- Chest: approximately 50cm laid flat.
- Length: approximately 70cm from shoulder to hem.
Material: Linen and viscose blend, as shown on the care label.
Price: £24.
That’s enough information to give somebody a clear understanding of what they’re buying, without writing an essay about a jacket.
For each new item, change the relevant details and you’re ready to go.
One important point: don’t guess the fabric composition, size or condition. Check the labels and inspect the actual garment.
6. Write Titles That People Will Actually Search For
A clever title might make you smile, but it won’t necessarily help somebody find your clothes.
People searching resale platforms often use very practical phrases.
They might search for “Zara black blazer size 14” or “Whistles silk blouse size 10”.
So make sure your title contains the information that matters.
A useful format is:
Brand + Colour + Garment + Size + Key Detail
For example:
“Zara Black Tailored Wide Leg Trousers UK 12”
Or:
“COS Cream Merino Wool Jumper Size M”
Avoid filling titles with unnecessary adjectives or unrelated brand names.
A clear, accurate title is usually more useful than one full of attention-grabbing words.
Platforms such as Vinted and eBay use listing details to help people find relevant products, so fill in the category, brand, size and condition fields carefully.
7. Photograph in Batches, List in Batches
Here’s where the real time-saving happens.
Instead of completing an entire listing from beginning to end before moving on to the next garment, group similar jobs together.
Imagine you’ve selected ten items to sell.
Session one: Preparation
Check everything is clean, remove lint, steam where necessary and inspect for damage.
Session two: Photography
Set up your photography space once and photograph all ten items.
Use the same routine each time.
Session three: Measurements
Measure the garments and save the information in your phone’s Notes app or a simple spreadsheet.
Session four: Listing
Now upload the photographs, use your description template, add your prices and publish the listings.
This approach avoids constantly switching between tasks.
You aren’t picking up the steamer, putting it away, looking for the measuring tape, moving the furniture and finding decent lighting every few minutes.
You do each job once, for several items.
It’s surprisingly satisfying.
8. Keep Track of Where You’ve Put Everything
There’s one final step that people often forget.
Once you’ve photographed and listed something, where does it go?
If you’re selling a handful of clothes, you can probably manage with a dedicated wardrobe rail or storage box.
But when you’ve got 30, 40 or 50 items, things can get confusing rather quickly.
Imagine selling a black Zara dress and then discovering you’ve got three almost identical black dresses in different sizes.
Not ideal.
A simple solution is to give each item a reference number.
For example:
| Reference | Item | Storage location |
|---|---|---|
| RC001 | Mango navy blazer | Box A |
| RC002 | Zara black dress | Box A |
| RC003 | Whistles cream blouse | Box B |
| RC004 | Leather ankle boots | Shelf 1 |
You can record these details in a notebook or spreadsheet.
The important thing is knowing exactly where to find an item when it sells.
If you’re listing across several online platforms, you can also record where each item is advertised.
And if you sell something at a physical event, remember to remove or update any online listings immediately so you don’t accidentally sell the same item twice.
Our simple clothing stock system guide explains how to track item references, storage locations and selling channels.
9. Keep Your Prices and Listings Consistent
If you’re listing several similar garments, it helps to establish a sensible pricing approach before you start.
You don’t want to price one high-street blouse at £8 and another nearly identical one at £35 without a good reason.
Condition, quality, brand and demand should all influence your decisions.
Research comparable items, check what similar pieces have actually sold for where possible, and decide what you’d be happy to accept.
It’s worth remembering that online and in-person selling involve different costs.
Online sales may involve postage, packaging and platform-specific charges, while physical events can involve stall fees, transport and payment processing.
You don’t necessarily have to charge identical prices everywhere, but your decisions should make sense.
Most importantly, don’t price everything so cheaply that the work involved hardly seems worthwhile.
Your clothes have value, and so does your time.
10. Don’t Feel You Have to List Everything Online
This might sound strange in an article about clothing listings, but hear us out.
Online selling is convenient, particularly when you’re trying to reach buyers looking for something specific.
However, it isn’t always the easiest way to sell every item.
There’s the photographing, messaging, negotiating, packing and posting.
Then there’s the lovely experience of somebody asking for a discount on a £6 top that’s already in excellent condition.
Sometimes, selling clothes face to face is simply more enjoyable.
At a pre-loved fashion event, shoppers can see the fabric, examine the condition, check the fit and make a decision there and then.
They can discover something they wouldn’t necessarily have searched for online.
And you get to meet the people giving your clothes their next chapter.
If you’re preparing for a Repeat Chic event, the same organisational habits still apply.
You can photograph your stock for reference, record prices and sizes, and prepare a simple inventory without having to create individual online listings for everything.
Just make sure that anything advertised online remains available until you pause or remove the listing.
Our Simple Clothing Listing Checklist
Before you start your next batch of listings, use this checklist to keep things moving.
- Choose the items you’re going to sell.
- Check condition and clean or steam where needed.
- Set up your photography space.
- Photograph the front, back, labels, details and any flaws.
- Record useful measurements.
- Research and decide on prices.
- Write clear, searchable titles.
- Use a consistent description template.
- Select accurate categories, sizes and conditions.
- Give each item a storage location or reference.
- Publish your listings and check they look correct.
Once you’ve got a routine that works, keep using it.
You can always improve the system later.
Less Listing, More Living
Selling clothes should be rewarding.
There’s something lovely about clearing space in your wardrobe, making a little money and knowing that somebody else will enjoy the things you’ve moved on from.
But that feeling can disappear pretty quickly if every single item takes half an afternoon to list.
The answer isn’t necessarily buying more equipment, downloading more apps or creating elaborate spreadsheets.
It’s having a simple system that you can repeat.
Start with five or ten items. Find out what works. Make small improvements as you go.
And remember, you don’t have to sell everything through a screen.
Sometimes the best way to give your wardrobe another life is to bring it along to a proper pre-loved fashion event, meet some lovely people and let the clothes do the talking.
Explore our Seller Setup guides for more practical advice on selling, storing and presenting pre-loved clothes.
Pre-loved. Reloved. Repeat.